Peptide injections have become increasingly popular among those pursuing longevity, weight loss, muscle definition, and skin rejuvenation. Whether you're using peptides for biohacking purposes or as part of a structured wellness program, knowing how to properly prepare and inject these compounds is essential. This guide walks you through the entire process—from gathering materials to administering your injection safely at home. If you've recently started a peptide program and received your medications but aren't sure where to begin, this comprehensive overview will give you the confidence to handle peptide preparation and injection with ease.
Understanding Peptide Injection Materials and Equipment
Before you begin, assembling the right materials is crucial for safe and effective peptide administration. The basic supplies you'll need include alcohol prep pads, bacteriostatic water, the peptide itself, a drawing needle (larger gauge), a 5 mL syringe, and an insulin needle for actual injection. It's worth mentioning that most peptides don't require refrigeration until they've been mixed—you can store them at room temperature in most cases. However, once reconstituted with bacteriostatic water, many peptides benefit from cool storage, which is why keeping a small dedicated fridge in your bedroom or using your regular refrigerator works perfectly.
The drawing needle is noticeably larger than the injection needle. This size difference serves a practical purpose: it allows you to quickly and efficiently draw bacteriostatic water from its container and transfer it into the peptide vial. Notably, this larger needle never touches your skin. The insulin needle, by contrast, is the one you'll use for actual injection—it's remarkably small and virtually painless, making the injection experience straightforward and comfortable.
Dosage and Frequency Considerations
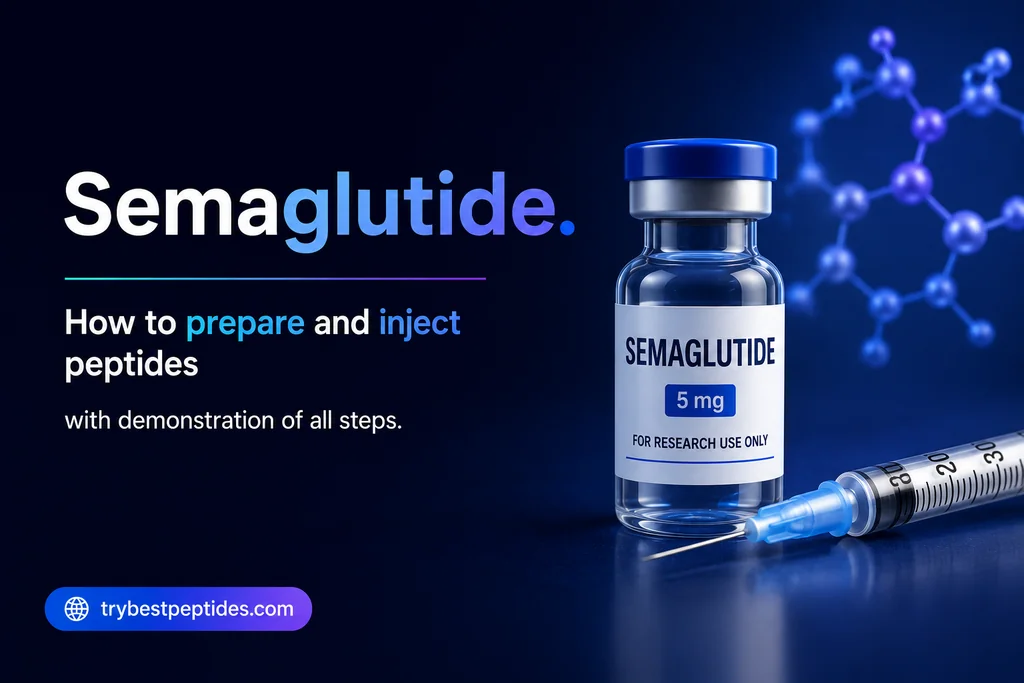
The frequency and dosage of your peptide injections depend entirely on which peptide you're using and your individual health goals. Some peptides require daily administration, while others—like semaglutide—are dosed weekly. Your healthcare provider or wellness clinic should supply you with detailed protocol cards explaining the specific requirements for each peptide in your program, including exact volumes needed for reconstitution and injection doses.
Preparing Your Peptide: The Reconstitution Process
The preparation phase is straightforward but requires attention to detail. Start by gathering all materials and arranging them in a clean workspace. Open your alcohol prep pad and use it to sanitize the top of your bacteriostatic water container and your peptide vial. These alcohol wipes serve double duty: they'll clean both your supplies and, later, your injection site.
Next, open your bacteriostatic water container. Draw the exact amount specified in your peptide's protocol—commonly 6 mL for many peptides, though this varies. Using your large-gauge drawing needle attached to your 5 mL syringe, pierce the center of the bacteriostatic water container and slowly draw out your required volume. Go nice and slow here; rushing can introduce air bubbles that complicate the process.
Once you've drawn the correct amount of water, you're ready to inject it into your peptide vial. Alcohol prep the top of the peptide bottle and insert your needle with the bacteriostatic water into the center of the vial. Push the water in slowly and steadily. As the water mixes with the peptide powder inside, you'll notice increasing resistance—this is normal. Continue pushing until all water has entered the vial, then retract the needle and syringe.
Managing Air and Safety
A key safety detail: never cap the needle immediately after use. Instead, place your needle cap down on a clean surface and carefully scoop it back onto the needle using one hand. This scooping motion prevents accidental needle sticks. Once capped, you can unscrew the needle from the syringe and dispose of it in a designated sharps container. Your peptide is now fully reconstituted and ready for injection.
Administering Your Peptide Injection
With your peptide prepared and ready, it's time to learn proper injection technique. Start by taking a fresh insulin needle and removing both caps—the needle cover and the plunger cap at the base. Hold your reconstituted peptide vial and insert the insulin needle directly into the center of the rubber stopper.
Invert the vial and draw out your dose slowly, making sure to eliminate any air bubbles by gently tapping the syringe and pushing any air back into the vial. Most starting doses fall between 0.1 and 0.5 mL, depending on the specific peptide and your program. Once you've drawn the exact amount needed with minimal air, you're ready to inject.
Choosing Your Injection Site
Peptides can be injected in several locations, though the abdomen and flanks (sides) are most common. Some people prefer their thighs or arms. Before injecting, alcohol prep the area where you plan to inject. Pinch the skin gently to create a small mound, then insert the needle at roughly a 45-degree angle. A helpful technique: as you pinch and pull the skin outward, simultaneously push the needle in—this minimizes pain and creates a smoother injection experience.
Once the needle is in place, slowly depress the plunger to inject the peptide. Withdraw the needle smoothly, and you're done. Most injections result in no bleeding or minimal oozing.
Rotating Injection Sites and Managing Side Effects
Here's something many people overlook: rotating your injection sites is critical for long-term comfort and safety. Injecting in the same spot repeatedly can lead to pain, bruising, scar tissue formation, and injection site reactions. Vary your locations each time you inject. If you're doing daily injections, you have plenty of real estate to work with across your abdomen, flanks, thighs, and arms.
Some peptides—particularly growth hormone secretagogues like CJC-1295—commonly cause injection site reactions. These might include redness, mild pain, or small lumps at the injection site. These reactions are generally temporary and normal. By rotating your injection sites, you minimize tissue trauma and reduce the likelihood of developing chronic pain or scarring at any single location.
Disposal and Safety Protocols
After injection, both your drawing needle and insulin needle should be carefully placed in a sharps container. Never throw loose needles in regular trash. If you don't have access to a designated sharps container, check with your local pharmacy—many will accept needles and syringes for proper disposal at no cost.
Important Medical Considerations
While peptide injections are relatively straightforward, they're not without risks. Peptides and injectable hormones can cause serious side effects in some individuals. Before starting any peptide program, consult with a qualified physician who can review your complete medical history, discuss potential contraindications, and monitor your progress. If you experience unexpected allergic reactions, severe pain, excessive swelling, or any unusual symptoms after injection, contact your physician or emergency services immediately. The transformative benefits of peptides are real, but they must be pursued under proper medical supervision.
Conclusion
Learning to inject peptides at home is an empowering step in taking control of your wellness and longevity goals. The process is simpler than many people initially imagine: gather your materials, reconstitute your peptide with bacteriostatic water using proper sterile technique, draw your dose carefully, and inject into a rotated site with an insulin needle. The key to success lies in following your provider's specific protocols, maintaining sterile technique throughout, rotating injection sites regularly, and staying alert to any unusual reactions. Whether you're using peptides for weight loss, muscle definition, skin quality, or overall longevity, consistency and proper technique will maximize your results. If you've recently started a peptide program, use the detailed instructions provided by your healthcare provider alongside this guide. And remember: when in doubt, reach out to your physician for clarification or guidance.
Key Takeaways:
- Peptide preparation requires bacteriostatic water, a large drawing needle, and sterile technique; always use alcohol prep pads on vial tops before needle insertion
- Inject using a small insulin needle into rotated sites (abdomen, flanks, thighs, or arms) to avoid tissue damage and injection site reactions
- Follow your provider's specific dosage and frequency protocol, as requirements vary significantly by peptide type
- Always dispose of needles in a sharps container and consult your physician before starting any peptide program to ensure safety and monitor for side effects